You will get your account once you have purchased the ShopCred WooBuilder. All you need to know is how to manage the account.
Go to the home page. You will find the login option in the header section.
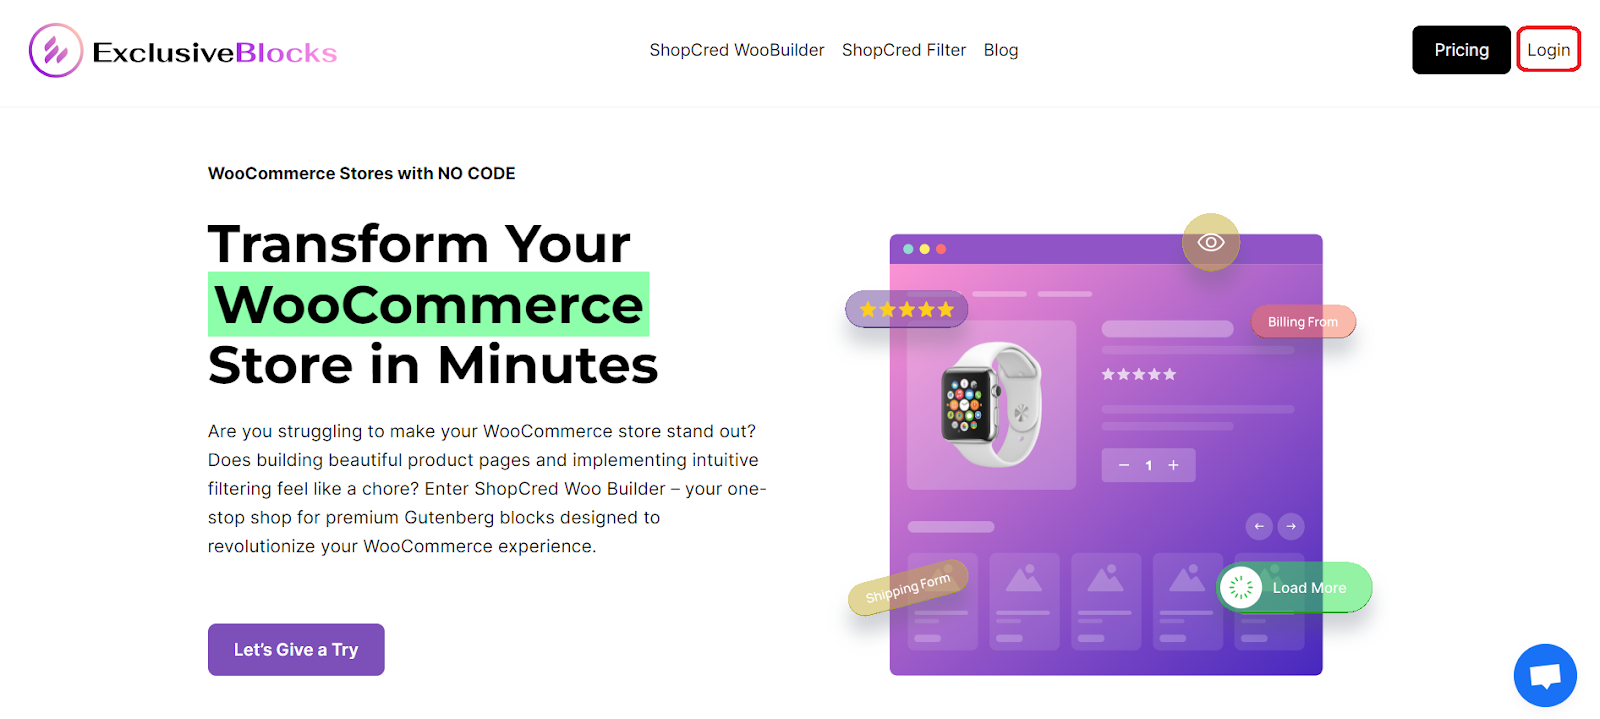
Step 1:
Once you go to the login page, enter your Username or Email and password. Now, press the login button.
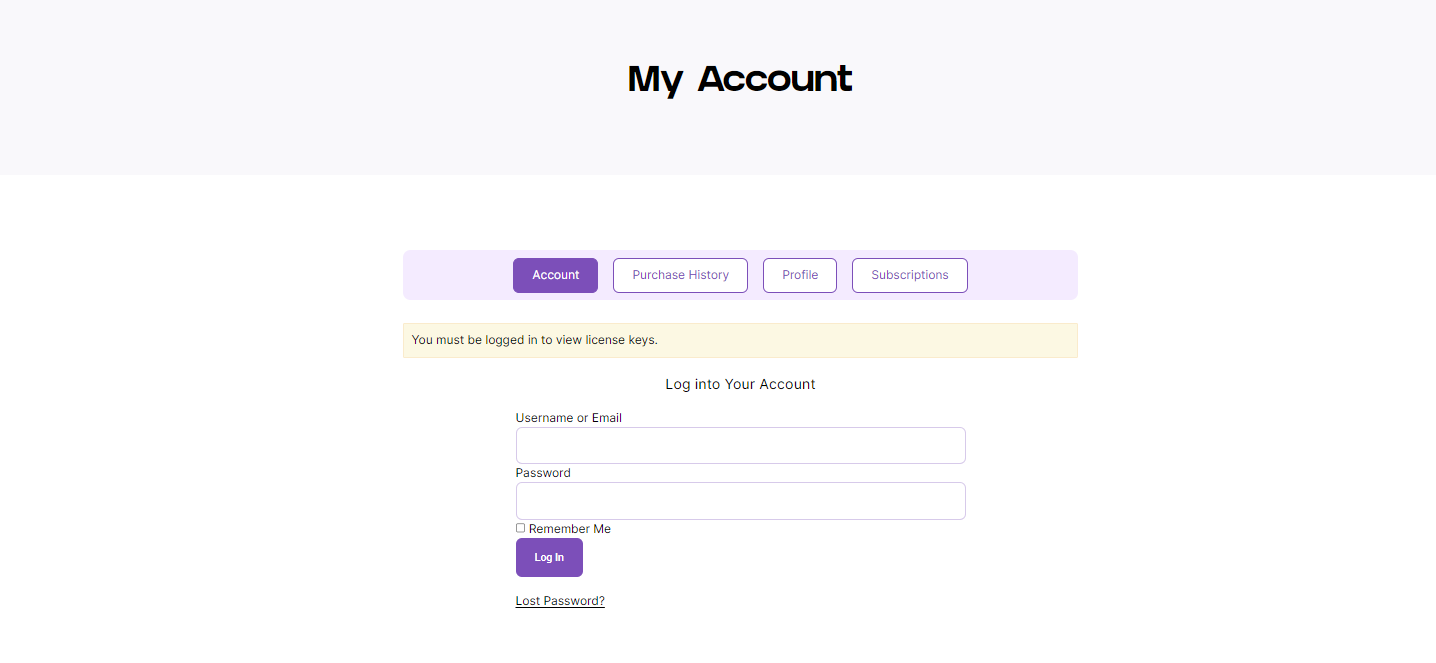
Step 2:
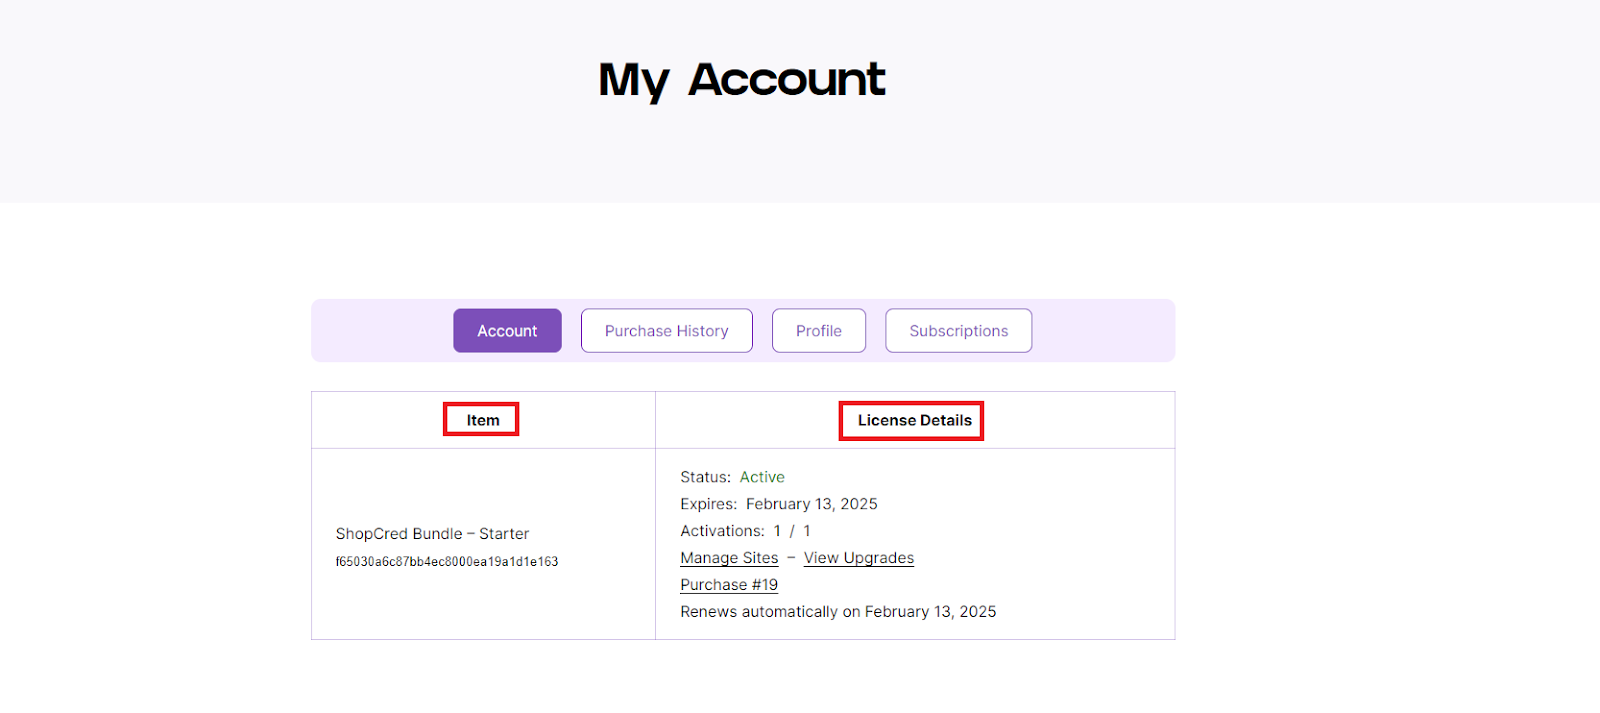
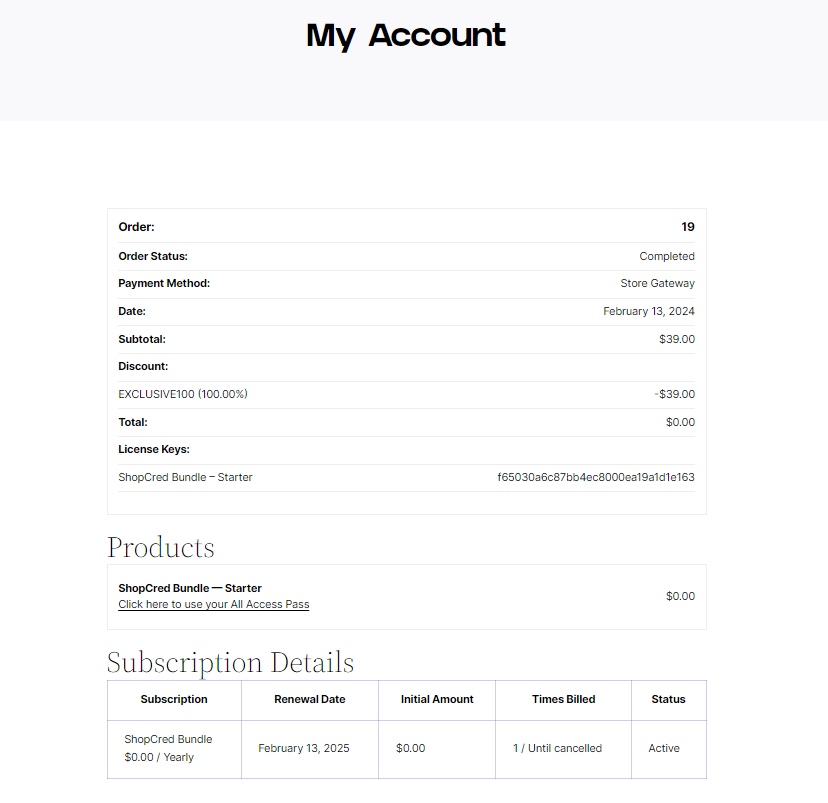
After logging into your account, you will be able to see the plan you purchased. In the Item section, you can see the current plan and the license key.
In the License details section, you can get the details of the plan. Starting from the status to the expiry and renewal date. Also, the number of activated sites.
Moreover, You’ll find clickable options like Manage Sites, View Upgrade, and Purchase Confirmation links.
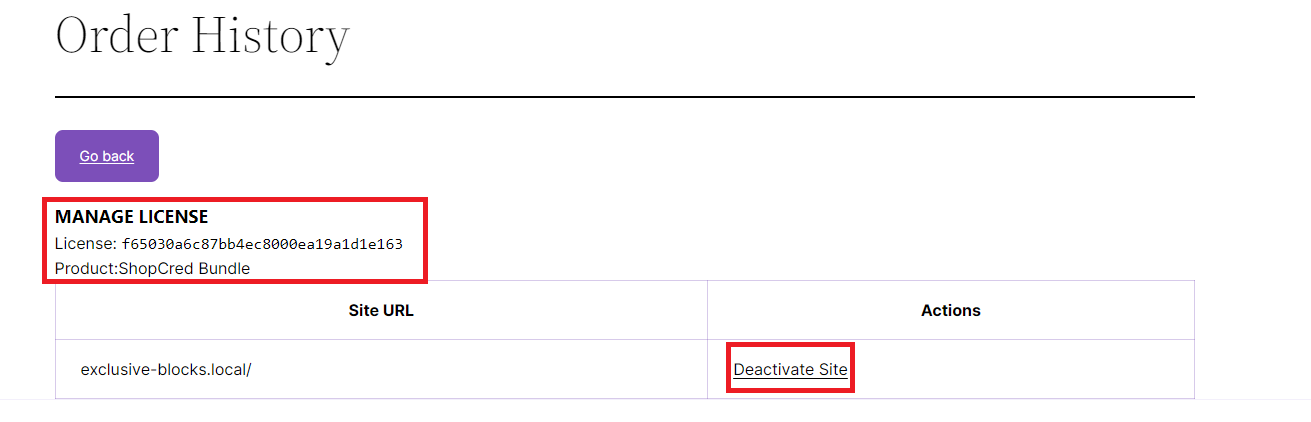
Step 2.1:
Clicking on “Manage Site” will take you to a page where you can view the list of activated Site URL(s). The License Key and Product Name are displayed at the top.
Step 2.2:
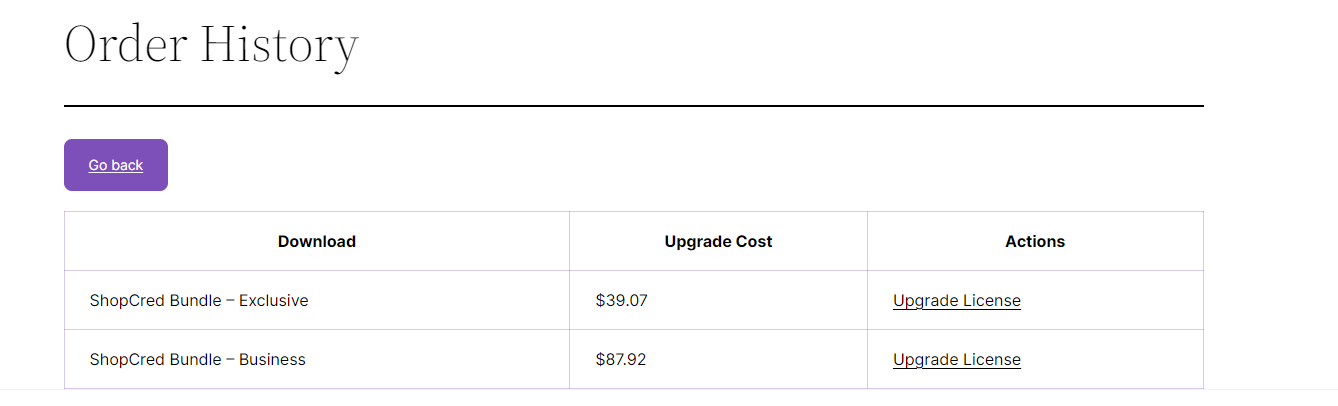
All of the upgradeable plans and their associated costs are shown on the View Upgrades page.
Step 2.3:
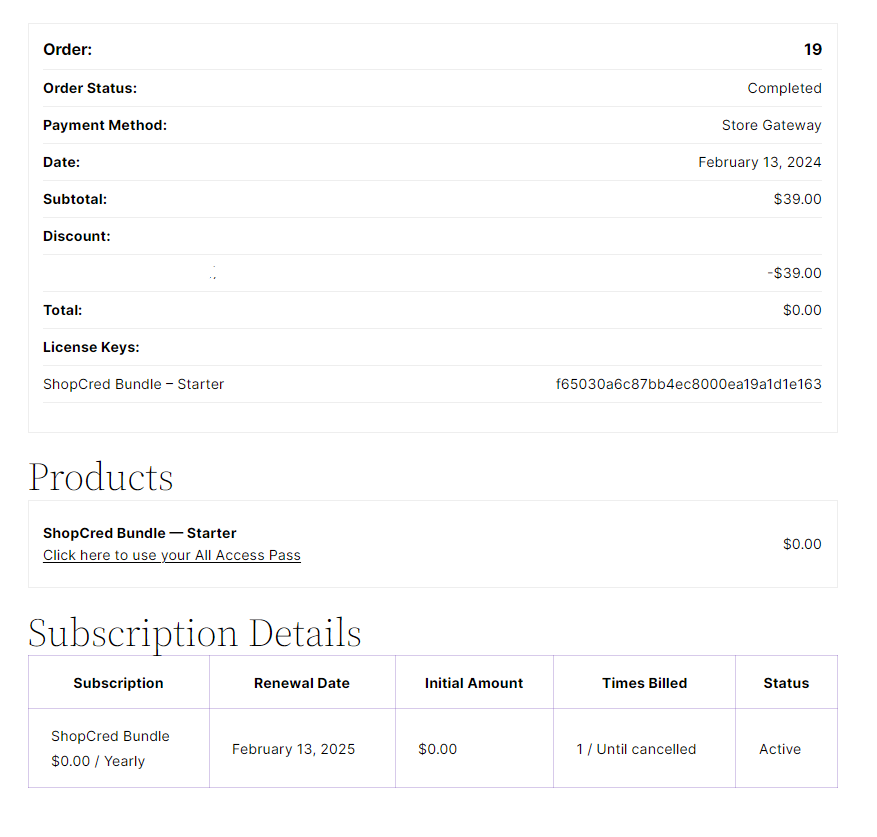
If you click on the purchase link, it will direct you to the Purchase details, Product access pass also subscription details.
Step 3:
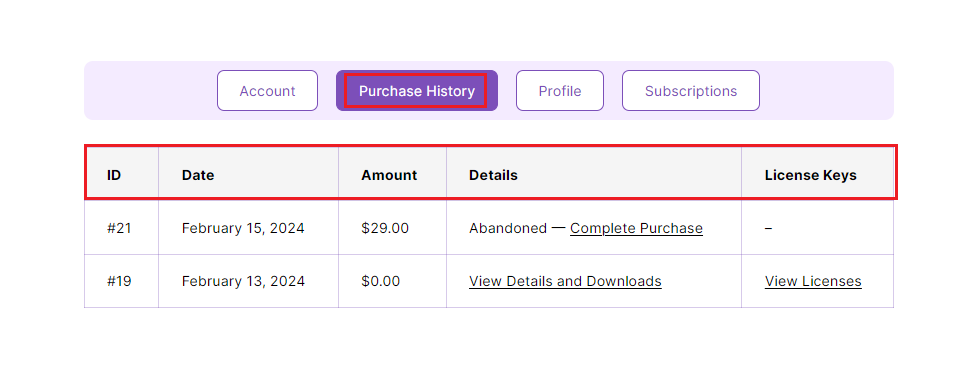
Within the Purchase History tab, you’ll find information like ID, purchase date, amount paid, details, invoice link, and license key.
Step 3.1:
In the Details area, click on “View Details” and “Download” to get to the Purchase Confirmation page, where you can find all the details about your purchase and payment. Also the subscription details and product pass.
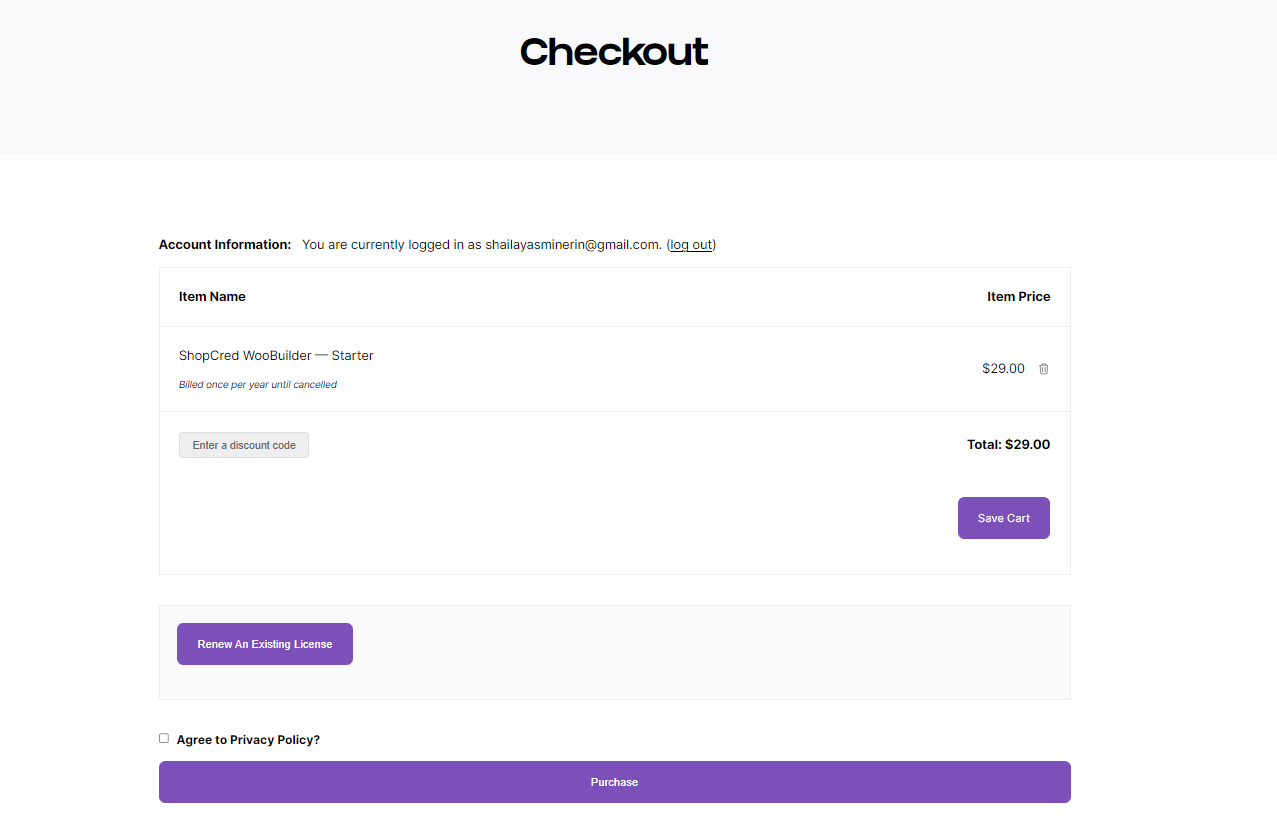
Additionally, if you abandoned any item or didn’t complete any purchase, clicking the complete purchase link will take you to the checkout page to complete the purchase.
Step 3.2:
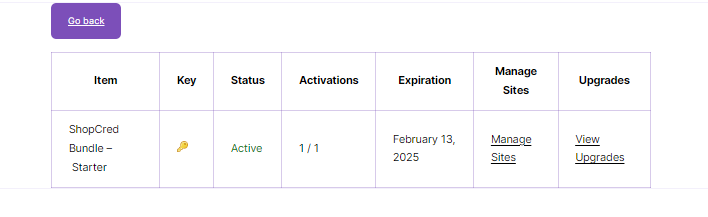
Click “View License” to see your license details. You can view the item name, key, status, number of site activations, manage site section, and upgrades on this page.
Step 4:
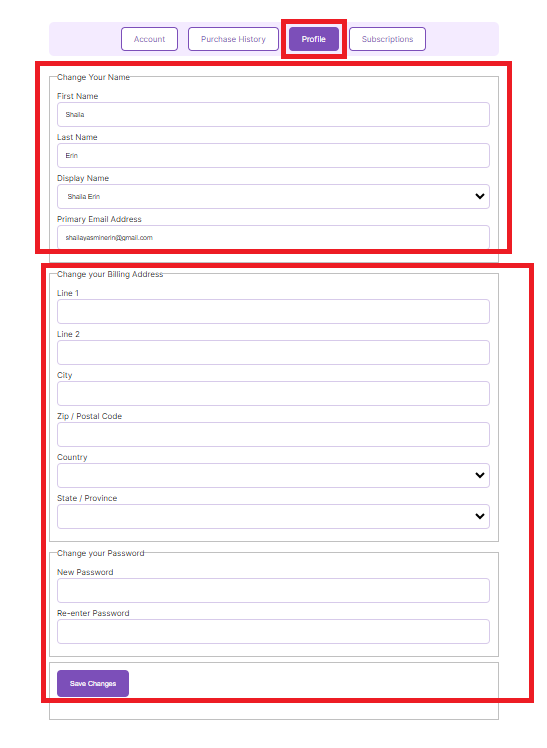
In the profile section, you can create your own profile by sharing the required data as shown in the below picture.
Also, modify your billing address providing the correct data accordingly, and click the save changes button.
Step 5:
Finally, in the Subscriptions area, you will be able to view the item you purchase, Status, Renewal Date, Initial Amount, Times Billed, and Actions.
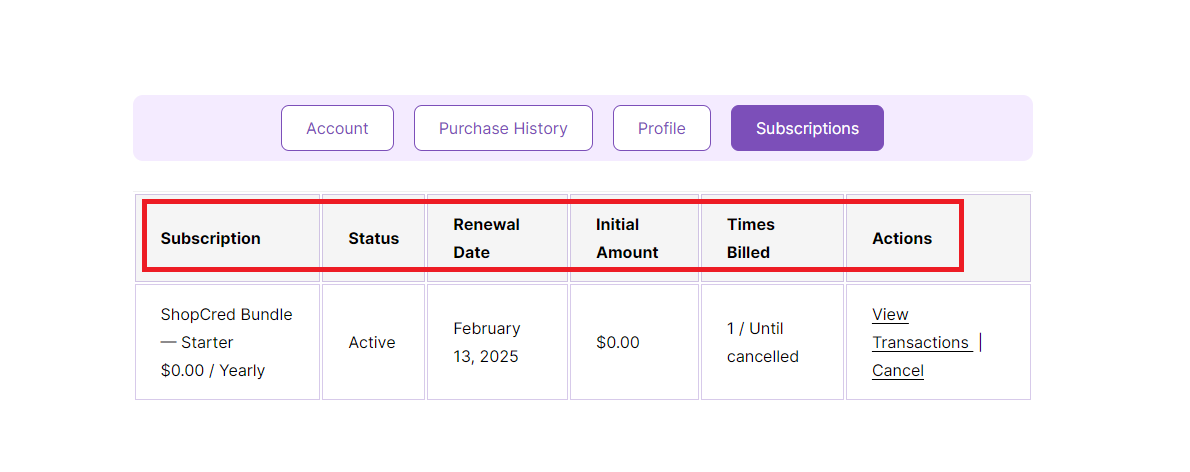
Step 5.1:
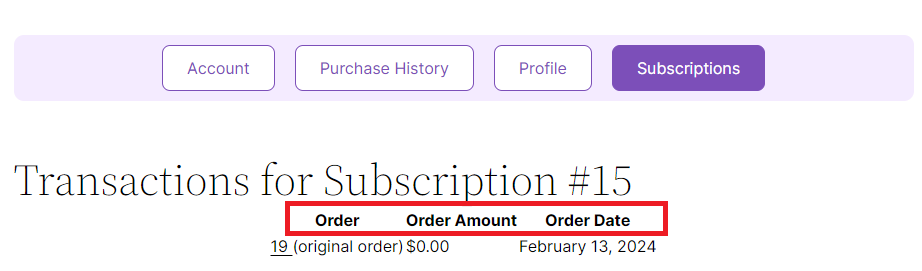
If you click the view transactions under the Action column, you will be able to see the Order number, Order Amount, and Order Date.
Or if you click the cancel button under the Action Column, then the subscription will be canceled.